
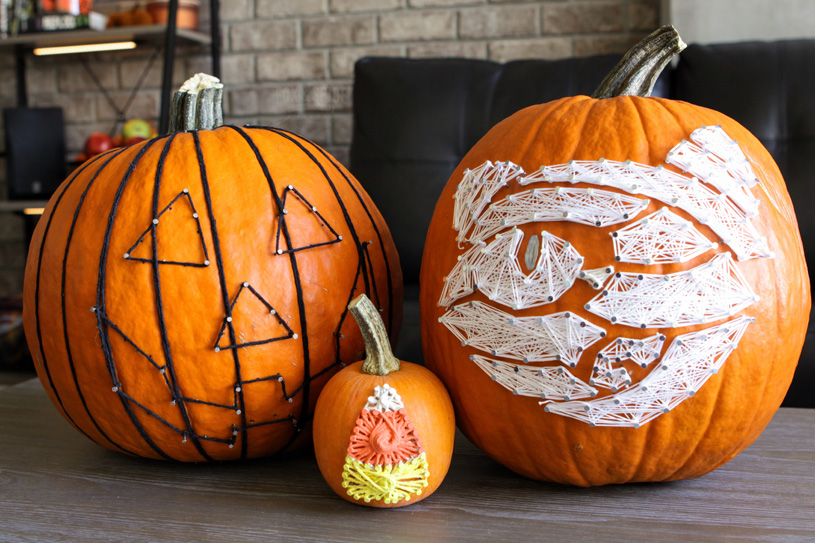
Carving a pumpkin isn't for everyone. The innards aren't exactly the most appetizing thing, and the texture itself is enough to make some people's stomach turn. It can get messy, and carved pumpkins tend to rot fairly quickly or get eaten by squirrels. And let's face it: during the day, unlit carved pumpkins aren't as impressive.
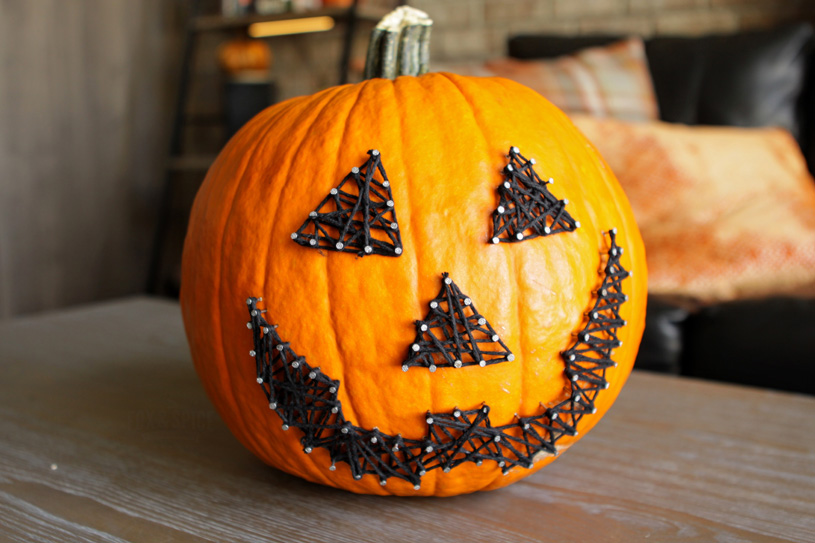
That's where no-carve pumpkins come in. I recently saw string art on a pumpkin and fell absolutely in love with it, so I thought I'd give it a try and teach you guys what I've learned!
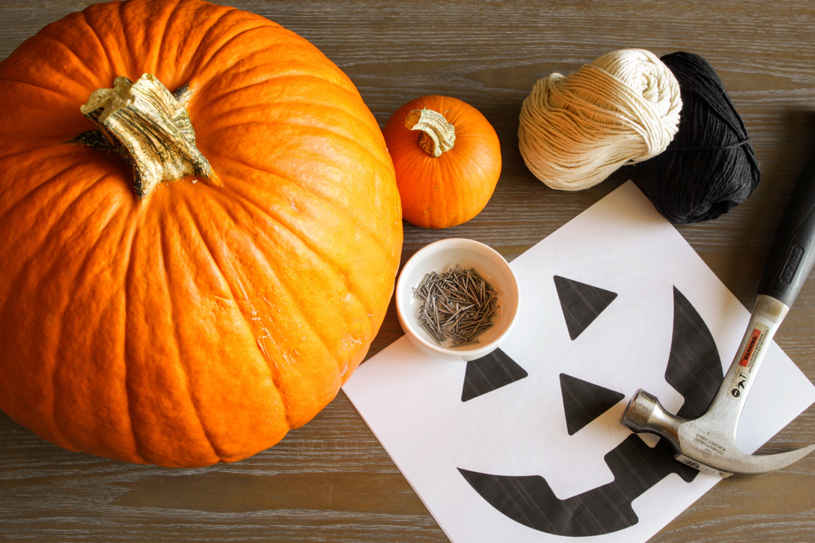
Here are the tools you will need:
- Pumpkin
- Yarn/thread
- Nails
- Hammer
- Printed carving stencil
I used about 400 1.5-in wire nails from Target, the thinnest they have, for two large pumpkins and a mini pumpkin. The amount you need will depend on the complexity of your design. Also, I started out with yarn, but ended up buying crochet thread and I loved it a lot more for intricate designs.
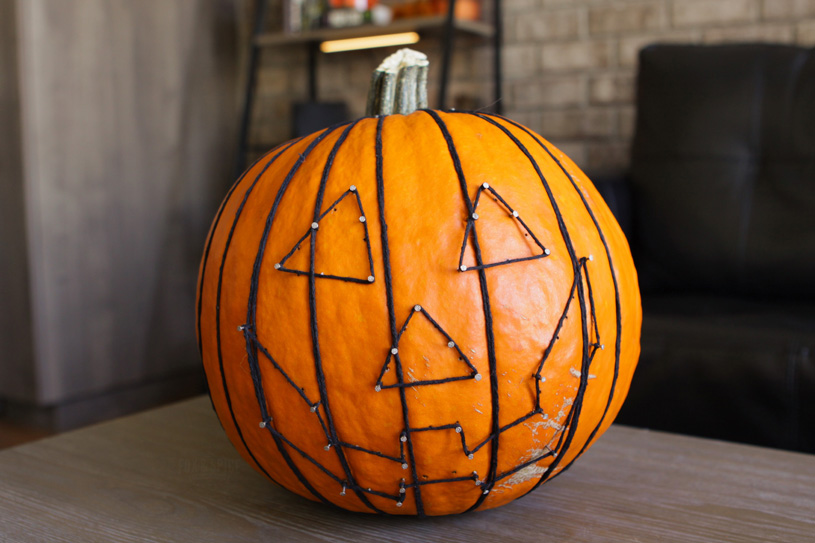
First, place the stencil on your pumpkin and hammer the nails all around the edges of your design. Space them out about a finger apart, or even less if you want better coverage.
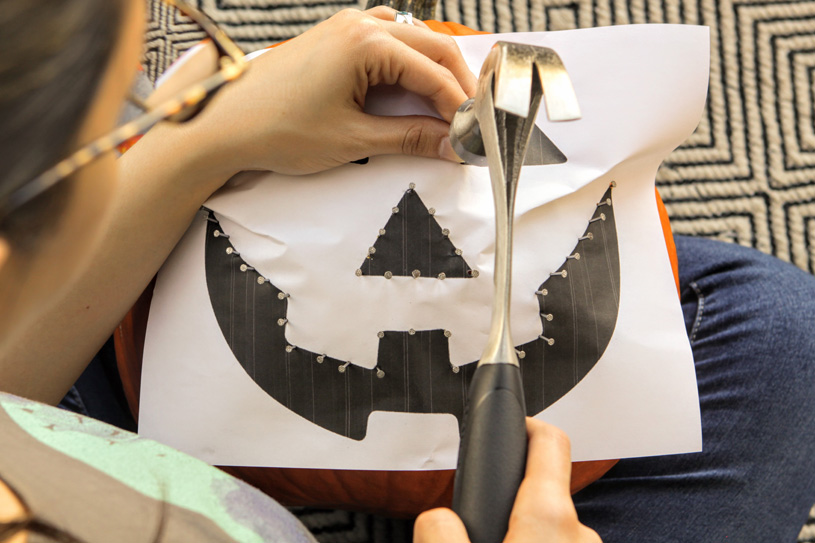
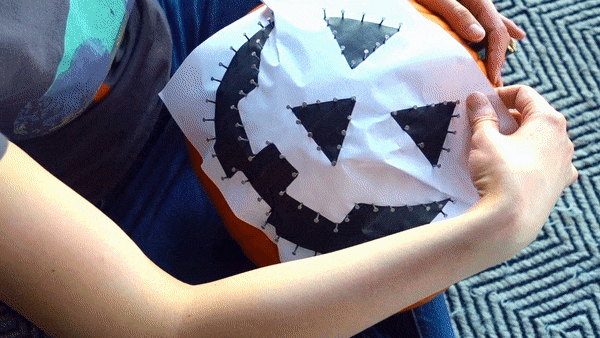
Once you're done, pull the paper out. Try not to tear it out completely; you may want to reference it when you're looping the string if your design is more complex.
Tie a knot around one of the nails.
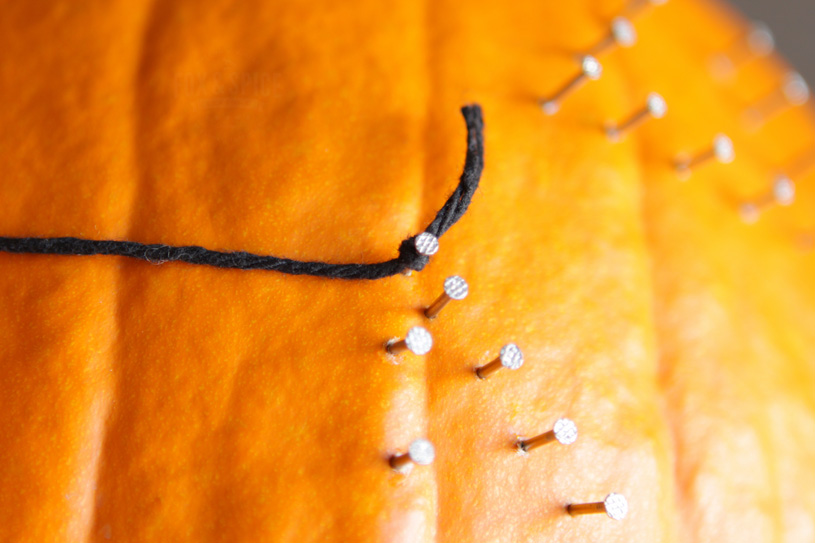
Start by looping around every nail to form the outer line of your shape.

And then just loop your string all around! When you're done with one section, tie another knot to a nail, then cut the excess string/yarn and repeat with the rest of the sections. You can go at it however you feel, depending on which style you like.
You can do it messily and just have fun with it:
You can go the minimalist way:
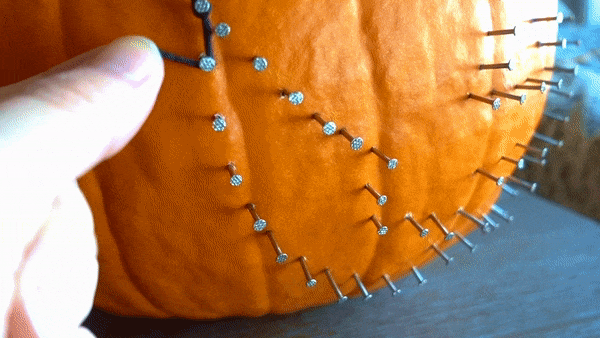
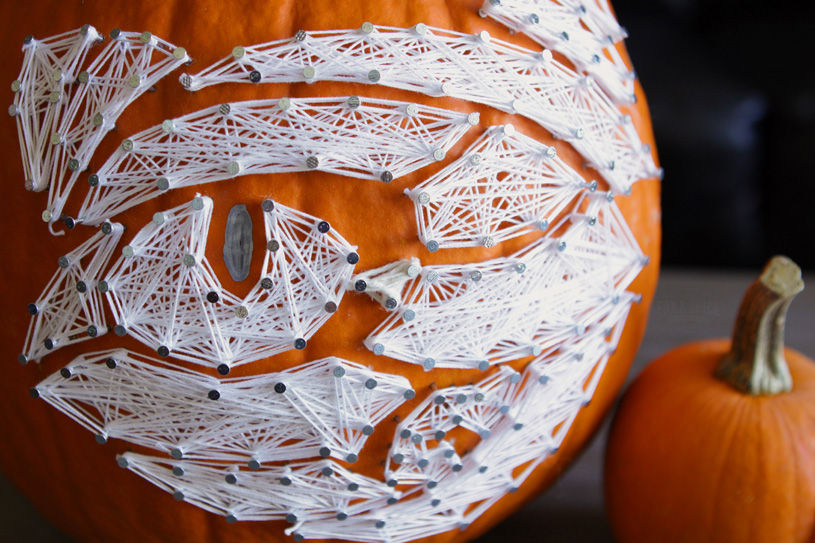
Or you can try one nail at a time, looping around every nail in reach, then moving on to the next and repeating. This will create layers upon layers and a fuller coverage:
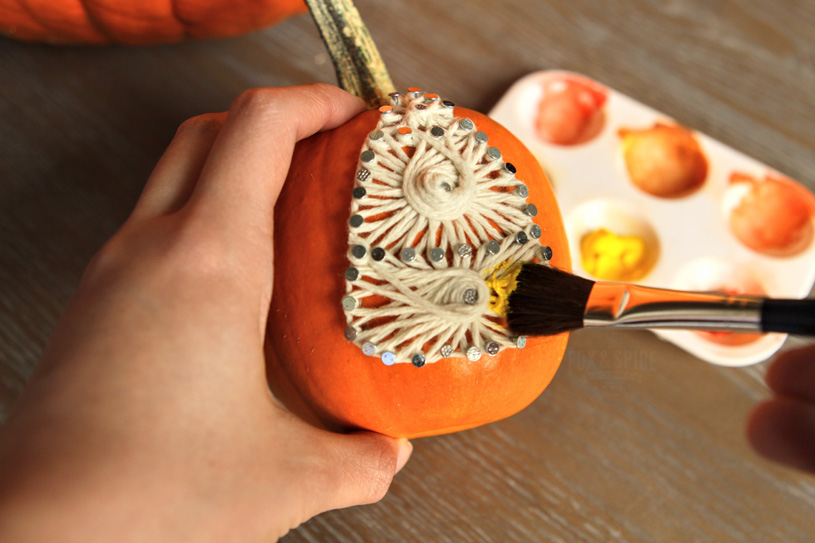
Have fun with the concept! Try using different colors of string in one design. Try painting your nails before hammering them in, or even painting the yarn once it's strung!
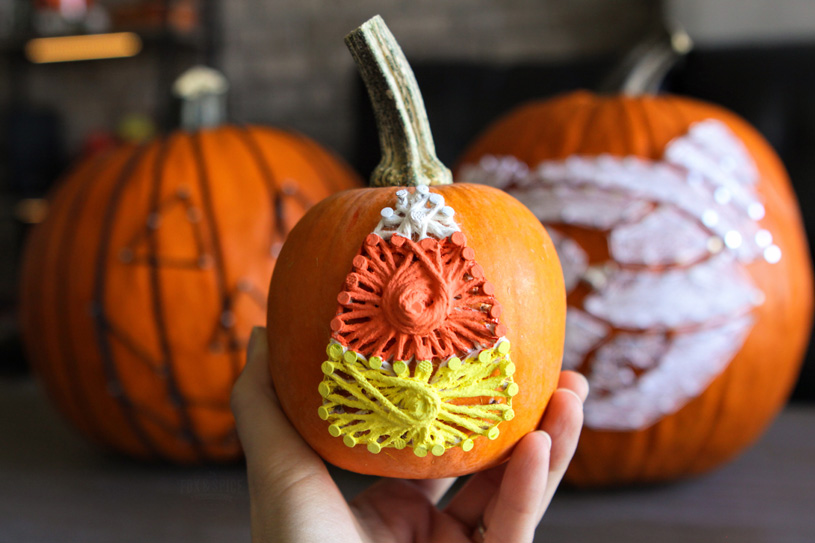
As you can see, mini pumpkins are also great for string art. In this one, I put one nail in the middle of each of the three sections and only looped through the center, going around in a clockwork fashion. Because my yarn was pretty thick, it created a cool textured spiral.
Tips
1. If your design has multiple individual parts, go for a thin crochet thread instead of yarn. When I did my cat mummy design with yarn, it was impossible to tell what it was. I went out and bought crochet thread, and it made a HUGE difference! To be fair, I had also tried to do a more minimalist look with the yarn, but I still wouldn't have been able to cover as much because the yarn is too thick. You can see the difference here:
2. The more nails you use, the more coverage you'll achieve. Also, thinner threads will give you a much better coverage, but it will take longer. However, yarn is better for kids because it's quick and easy to manipulate.
3. Leave a good half inch of nail (depending on the thickness of your yarn or string) to allow for multiple loops. You can always push them in when you're done.
4. If you have a cat, good luck.
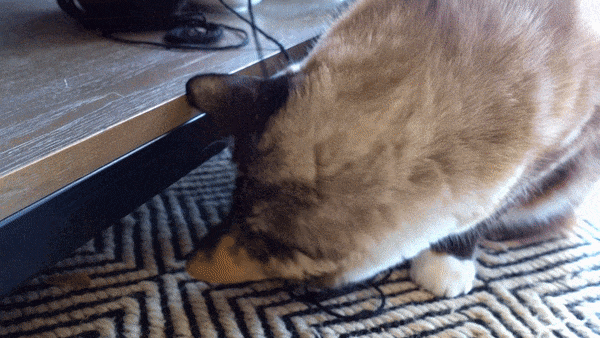
4. If you have a cat, good luck.

Social Icons